NoFloods AluGate
NoFloods AluGate Models
Posts
| Types | Material | Sealing Strip Material | Protection Height | Weight | Bolts |
|---|---|---|---|---|---|
Inside mounted, Outside mounted, Centre, 90 degrees |
6063 T-6 Aluminium |
Rubber EPDM |
Up to 2 meters |
2 kg/m + top cap and seal |
Stainless steel |
Planks
| Material | Sealing Strip Material | Length | Height | Weight |
|---|---|---|---|---|
6063 T-6 Aluminium |
Rubber EPDM |
Varies depending on opening size |
200 mm with (Standard) |
2.85 kg/m |
Barrier Anchor and Support
| Component | Description / Recommendation |
|---|---|
Center Post Support Legs |
For barriers with retention heights above 60 cm |
Plank Support Legs |
Recommended for barrier heights above 1 meter. |
304 stainless steel Post Base Plate |
For optimal anchoring of centre / free standing posts |
304 Stainless steel Barrier Base Plate |
Ensures an even surface under the planks |
Find the full details of the NoFloods AluGate in our catalogues, including specifications, installation guidance, and examples of use. This innovative system provides sustainable, reusable flood protection while maintaining both appearance and accessibility.
How to Install the AluGate Barrier
The AluGate follows the same installation principle for all configurations. Before any In-opening installation, decide whether the posts will be mounted inside or outside the opening. For any open-space installation carefully map put the installation line. For optimal performance, always refer to the user manual or contact us directly.
Installation of Posts
In-Opening Mount
- Ensure that the outside rubber seals are facing the wall where the post will be installed, and that the U-channel opening is directed toward the opening, ready to receive a plank.
- Use a hammer drill to create holes for the included expanding wall anchors.
- Insert and expand the anchors to secure the posts to the wall.
- Ensure the anchors are inserted into a solid concrete, cinderblock, or cement wall for optimal system stability.
Ground-Anchored Mount
- Prepare and cast a foundation according to the required specifications to ensure stability and load-bearing capacity.
- Securely install the base plate onto the foundation to provide a solid anchor for the rest of the structure.
- Insert and secure the post into the designated slot on the base plate.
*The required mounting tolerances for anchor plates depend on the height of the center posts. Taller posts are more sensitive to any inclination of the anchor plate, which can impact the alignment at the top of the post. Please refer to technical information before installation.
Insertion of planks
- Loosen the tightening bolts and the top locking bracket (According to AluGate model).
- Insert one plank at the time. Ensure that the planks are positioned with the rubber seal facing downwards.
- Continue to insert planks until all the planks are in position, ready for tightening.
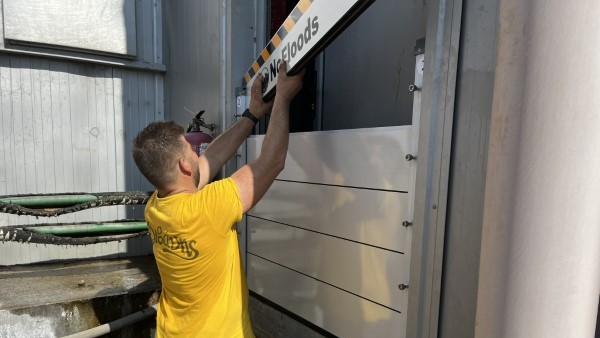
Note: The plank with the the reflective warning tape should be inserted as the last one on top.
Tightening of planks
- Use a Allen wrench to tighten flood planks into position and against the internal rubber seals.
- Insert the top locking clamps into the post top slot. Use the Allen wrench to tighten down the clamps and to apply pressure to flood planks below, enhancing the seal between slats.
- Use the tightening bolts on the posts to tighten down the planks within the U-channel and to ensure a seal with the neoprene strips within the channel.
Disassembly
Loosen top locking clamps and tightning bolts and remove planks in the reverse order. Clean off any debris, dry and store away.
* The method for securing planks varies depending on whether the NoFloods AluGate is installed within an opening or as a freestanding barrier. Each configuration uses a specific mechanism for tightening the planks. Refer to the user manual for configuration-specific instructions to ensure proper installation and performance.